

To create a directory in WordPress, install a directory plugin, let it build the directory pages, add categories, set up a listing form, and publish your first listings. You don’t need to write code.
This guide uses a free plugin for the steps, then covers how to add maps, how to charge for listings, and what to avoid. If you meant a different kind of directory, a folder on your web server, there is a section for that near the end.
What do you need before you start?
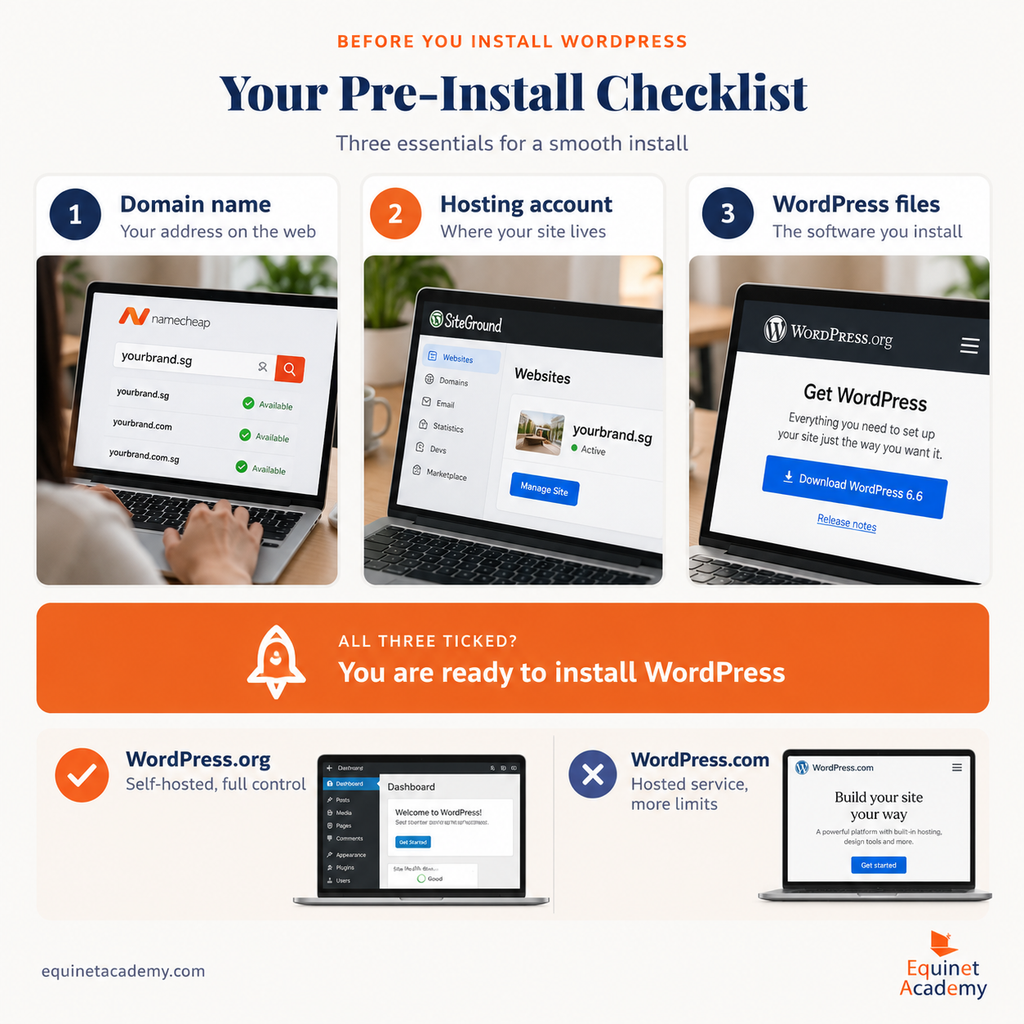
You need a self-hosted WordPress site, admin access, and a clear idea of what the directory will list. If your site runs on WordPress.com, check that your plan allows plugins first, because plugin installs are not open on every plan.
Before you install anything, answer four questions. The answers shape every setting later.
- What will you list? Local businesses, doctors, jobs, cars, blogs, or members.
- Who adds the listings? Only you, or visitors through a form.
- How will you sort them? Write down five to ten main categories.
- Will you charge? Listings can be free, paid, or both.
A restaurant directory and a freelancer directory need different form fields, different categories, and often different rules about who can post. Ten minutes of planning now saves a lot of rework.
Which method should you use to build a WordPress directory?
Use a plugin. It is the fastest route, it works with most themes, and your listings stay put if you change your design later. The other two options work, but each has a cost.
| Method | Effort | Flexibility | Main drawback |
|---|---|---|---|
| Directory plugin | Low, no code | High, with add-ons | Some features cost extra |
| Directory theme | Low to medium | Depends on the theme | Directory is tied to the theme |
| Custom post types (code) | High | Total | You build search, forms, and payments yourself |
A directory theme gives you the look and the listing features in one package. The catch is lock-in. If you switch themes, the listing features can disappear along with the old theme.
The code route uses custom post types. A custom post type is a new kind of content that sits next to posts and pages. WordPress ships with five default types, and you add your own with the register_post_type() function. The WordPress developer documentation on custom post types recommends keeping them in a plugin rather than a theme, so your content stays portable if you change themes. This path suits developers. For everyone else it is slow, because you still have to build the search, the submission form, and the payments.
Key takeaway: Pick a plugin unless you are a developer who wants full control over every detail.
Which WordPress directory plugin should you pick?
Four free plugins cover most needs. Match the plugin to the answers you wrote down above.
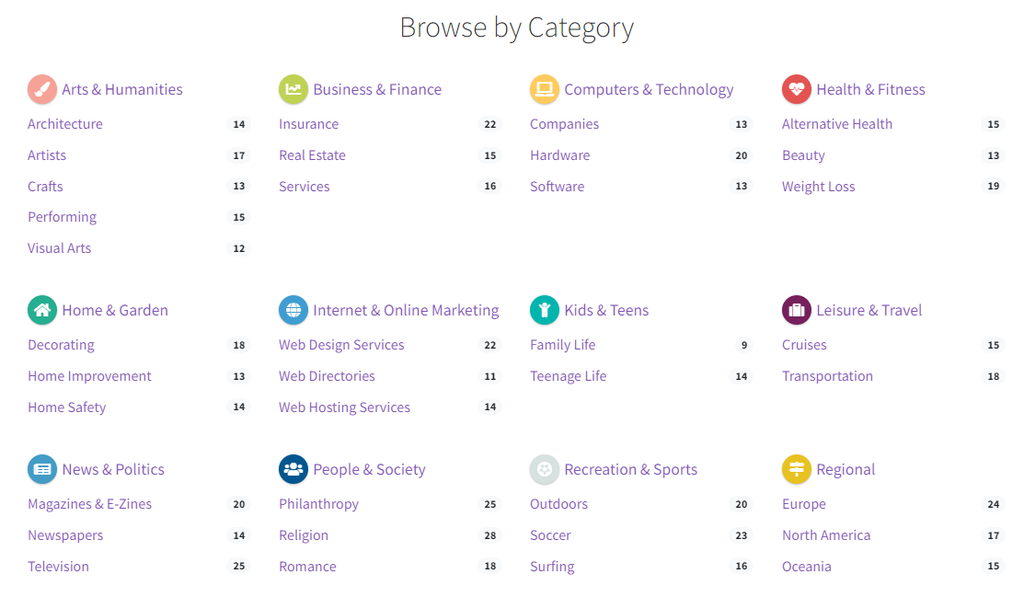
- Business Directory Plugin. Simple to set up. The free version includes listings, categories, front-end search, and CSV import. Maps and ZIP code search need paid modules.
- Directorist. The free core plugin lets you run several directory types on one site, such as restaurants and services, each with its own fields. It has a drag-and-drop form builder and a front-end dashboard where listing owners manage their own entries. It shows more than 20,000 active installs on WordPress.org.
- GeoDirectory. Built with a focus on location-based directories.
- HivePress. A free plugin for directory and classified sites.
Before you install any of them, check the plugin page for the date of the last update and the WordPress version it supports. A plugin that has not been updated in a long time is a risk on a site that accepts public submissions.
The steps below use Business Directory Plugin because its free version needs little setup. The same flow applies to the others: install, create pages, add categories, shape the form, add listings. Menu names will differ.
How to create a directory in WordPress with a plugin
These steps use the free Business Directory Plugin. Follow them in order.
Step 1. Install and activate the plugin
From your dashboard, go to Plugins » Add New. Search for Business Directory Plugin, click Install Now, then click Activate.
Step 2. Let the plugin create your directory pages
Go to Directory » Settings. A prompt asks permission to create the required pages. Click Create required pages for me.
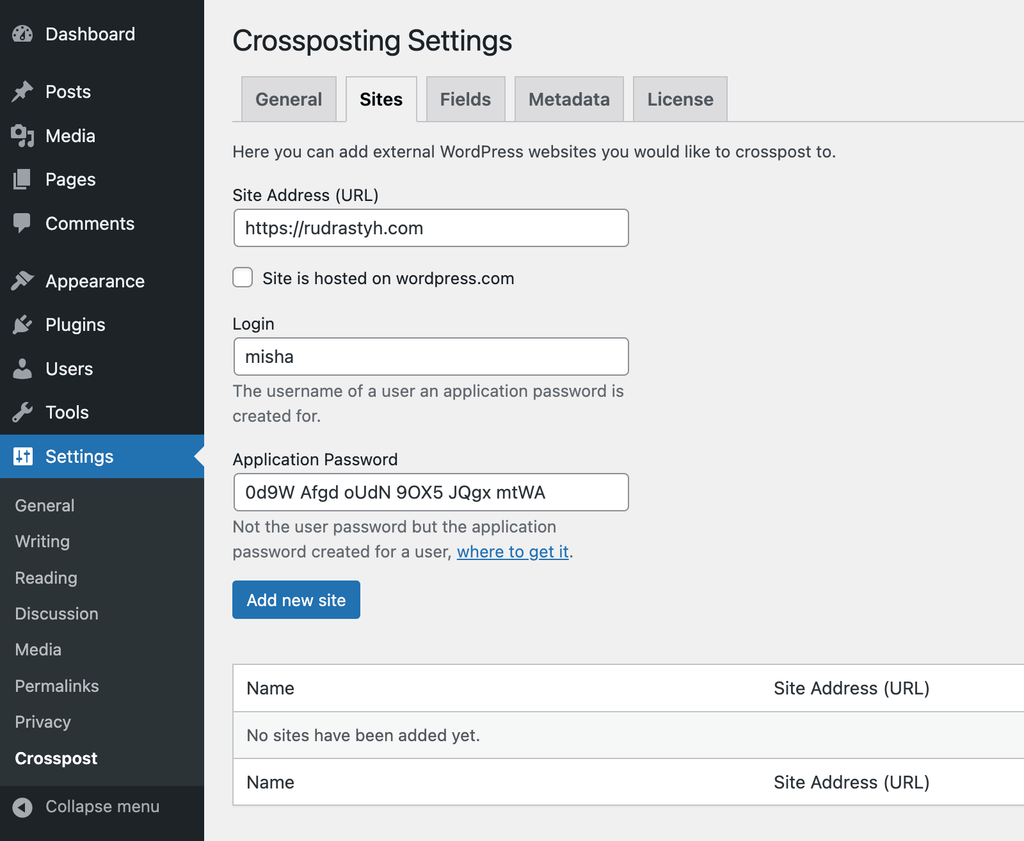
The plugin adds a page called Business Directory. That page already holds a search bar, category browsing, and the submission form. It all comes from one shortcode, which is a small tag in square brackets that tells WordPress to show a feature on a page.
Step 3. Change two settings before anyone submits a listing
By default, submitted listings go live straight away. Under Directory » Settings » Listings, set Default new post status to Pending (Require approval). Now every new listing waits for you.
Next, open the General tab, click SPAM, and turn on reCAPTCHA. A public form attracts spam bots quickly, so do this on day one. While you are in Listings, you can also choose how many listings show on each page. Click Save Changes when you finish.
Step 4. Create your categories
Go to Directory » Directory Content and open the Categories tab. A new install has one category, called General. Click Add New Category, type a name, and save it.
To make a subcategory, pick a parent in the Parent Category dropdown. For example, make Restaurants the parent and Italian Restaurant the child. Keep the first set small. Five to ten main categories are easier to browse than forty, and you can add more later.
Step 5. Shape the listing form
Open Directory » Directory Content and choose Form Fields. Use the arrows in the Order column to move fields. Click Edit to change a field’s label, description, or required status, and click Delete to remove one. Click Update Field to save.
Ask only for what a visitor needs to decide: name, category, description, phone, address, and website. Every extra required field makes a business owner less likely to finish the form.
The right fields depend on what you list. A restaurant listing might add opening hours and a menu link. A job directory needs a salary range and an apply link. A doctor directory needs a specialty and a clinic address. Add fields like these only if visitors will use them to compare listings.
Step 6. Add the first listings
Add a few listings yourself so the directory is not empty at launch. Go to Directory » Directory Content, click Add New Listing, fill in the details, and click Publish. If your businesses already sit in a spreadsheet, the free version of Business Directory Plugin can import them from a CSV file in one go.
Visitors add their own listings by clicking Add Listing on the directory page, choosing a category, filling in the form, and clicking Complete Listing. Their entries show up as pending under Directory » Directory Content » Listings. Click Preview to check one, Edit to fix it, and Publish to approve it.
Step 7. Add the directory to your menu and test it
Add the Business Directory page to your site menu so visitors can find it. Then test the whole flow.
Tip: Open your site in a private browser window, submit a test listing as a visitor, and approve it from the dashboard. If that works from start to finish, the directory is ready.
How do you add maps and location search?
In the free version of Business Directory Plugin, a listing can hold an address as plain text. That works for a simple directory where visitors only need contact details.
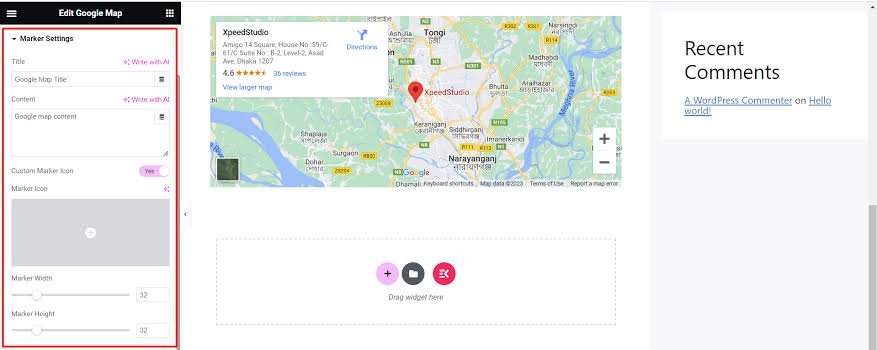
If you want listings on a map, or search by ZIP code or city, you need the Google Maps and ZIP Code Search modules, which come with the paid plans. Once they are on, each listing shows its location on a map, and visitors can filter results by distance instead of searching by business name.
How do you charge for listings?
Business Directory Plugin accepts payments in its free version through Stripe and Authorize.net. With Stripe, the plugin adds a 3 percent fee per transaction on top of Stripe’s own processing fees, and a paid plan removes that extra fee. Authorize.net carries no per-transaction fee from the plugin at any level. PayPal needs a paid plan.
To set up a gateway, go to Directory » Settings and click the Payment tab. Choose Authorize.net, switch it on, and enter your login ID and transaction key.
Business owners pay for visitors. So launch with free listings, build some traffic, and add paid or featured listings once the directory has an audience.
What mistakes sink a new directory?
Most failed directories fall into the same few traps.
- Too many categories at launch. Visitors get lost, and most categories sit empty.
- No approval step. Spam and duplicate entries make the whole directory look untrustworthy.
- An empty directory. Nobody submits to a site with nothing on it. Seed it with real listings first.
- Thin listings. Make the description and one contact detail required, so each page has something worth reading.
- Building on a theme you may change. Choose a plugin so your listings survive a redesign.
What should you do after the directory goes live?
A directory is only useful while its listings stay accurate. Set a routine from the first week.

- Check the pending queue often. Approve good listings quickly, because owners who wait days rarely come back.
- Remove dead listings. A closed business or a broken website link makes the whole directory look stale.
- Add a category only when several listings need it. Empty categories make a directory look unfinished.
- Fix the form when owners keep skipping or misreading a field.
Small, regular care like this does more for trust than any design change.
How do you create a folder (directory) on your WordPress server?
If you meant a folder in your WordPress files, the dashboard can’t create one. Use an FTP client such as FileZilla, or the File Manager in your hosting control panel.
- Find your FTP details in your hosting account. They are separate from your WordPress login.
- Connect with your FTP client.
- Open your WordPress folder, the one that holds wp-admin, wp-content, and wp-includes.
- Right-click in the file pane, choose Create Directory (or New Folder), type a name, and click OK.
Put custom folders in the site root or inside wp-content. Leave wp-admin and wp-includes alone, because WordPress updates replace them. Uploaded images live in wp-content/uploads, themes in wp-content/themes, and plugins in wp-content/plugins. Back up your site before you change files.
Frequently asked questions
Can I create a directory in WordPress for free?
Yes. The free versions of Business Directory Plugin and Directorist cover listings, categories, and search. In Business Directory Plugin, maps, ZIP code search, and PayPal sit behind paid plans, so decide whether you need them before you commit.
Do I need to code to build a WordPress directory?
No. A directory plugin handles listings, forms, and search from the dashboard. You only need code if you build the directory yourself with custom post types.
How can visitors submit their own listings?
Directory plugins add a front-end submission form. In Business Directory Plugin, visitors click Add Listing on the directory page. Set new listings to Pending so you can approve each one before it goes live.
Can I import listings from a spreadsheet?
Yes. Business Directory Plugin supports CSV import in its free version, so you can upload a whole spreadsheet instead of typing each listing by hand. Save your file as CSV first.
How do I create a folder in WordPress?
Connect with an FTP client or open your host’s File Manager, go to your WordPress folder, and choose Create Directory or New Folder. The WordPress dashboard can’t create folders.
Conclusion
The fastest way to create a directory in WordPress is a plugin. Install it, let it create the directory pages, turn on approval and spam protection, build a short list of categories, tidy the listing form, and add your first listings. A good result is a directory a stranger can search, submit to, and trust from day one. If you only need a server folder, create it with FTP or your host’s File Manager.
Recommended Articles:
How to Block All Spam Calls on Android
Interworldradio Blog Submission Guidelines: How to Submit a Guest Post
How to Import Passwords Into Bitwarden From Chrome
How to Start an Auto Transport Business: 9 Steps
Does 19thstategroup.com Have a Blog? What You’ll Find Instead



[…] How to Create a Directory in WordPress (Step by Step) […]