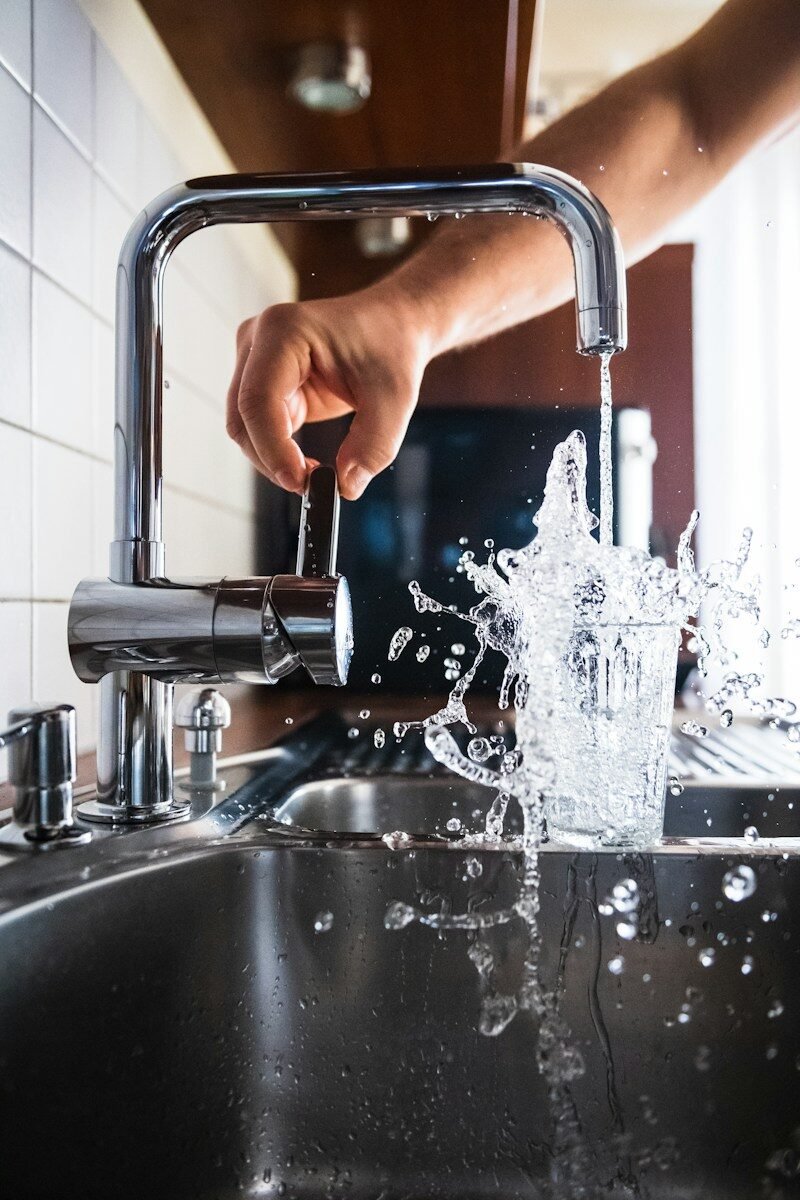

That steady drip-drip-drip is more than annoying — a single leaky faucet can waste over 3,000 gallons of water per year and quietly inflate your water bill. The good news is that learning how to fix a leaky faucet yourself is one of the easiest DIY plumbing wins. Most faucet repairs take under an hour, require only basic tools, and cost less than ten dollars in parts.
You do not need to be handy. If you can turn a wrench and follow steps in order, you can do this. Let us walk through it.
Before You Start: Identify Your Faucet Type
Faucets are not all built the same, and the repair depends on the type. There are four common kinds.
Compression Faucets
These have separate hot and cold handles that you twist multiple turns. They are the oldest style and the most common leakers. The culprit is almost always a worn rubber washer. If your faucet has two handles that screw down, this is you.
Ball Faucets
Common in kitchens, these have a single handle that moves over a rounded cap. They use a ball mechanism with springs and rubber seats. They have more parts but are still very fixable.
Cartridge Faucets
These have a single handle that moves up and down or side to side. Inside is a cartridge — a self-contained unit. When it leaks, you simply swap the cartridge. This is the easiest type to repair.
Ceramic Disk Faucets
The newest and most durable type, with a single lever over a wide cylindrical body. They rarely leak, but when they do, the ceramic seals may need cleaning or replacement.
If you are unsure, take a photo of your faucet and show it at the hardware store — staff can identify it instantly.
Gather Your Tools and Parts
You do not need a plumber’s truck. Here is the short list for basic faucet repair.
Essential Tools
– Adjustable wrench – Phillips and flathead screwdrivers – Allen wrench set (for set screws on handles) – Plumber’s grease (silicone-based) – Old towels and a small bucket – Your phone (to photograph each step for reassembly)
Replacement Parts
For compression faucets, buy an assorted washer and O-ring kit — a few dollars and it covers most sizes. For cartridge or ball faucets, note your faucet’s brand and model (often stamped under the sink or on the original paperwork) and buy the matching repair kit. When in doubt, bring the old part to the store for matching.
How to Fix a Leaky Faucet Yourself: Compression Faucet Walkthrough
Compression faucets are the most common DIY faucet repair, so we will cover them in detail. The process is nearly identical for the hot and cold sides.
Step 1: Shut Off the Water
Find the shut off water valve under the sink — there is usually one for hot and one for cold. Turn both clockwise until they stop. Then turn the faucet on to drain remaining water and confirm the supply is off. If there are no under-sink valves, shut off the home’s main water supply.
Step 2: Plug the Drain and Remove the Handle
Stuff a rag or sink stopper in the drain so tiny screws cannot disappear. Pop off the decorative cap on the handle (it usually says Hot or Cold), remove the handle screw, and lift the handle off. If it is stuck, wiggle gently — never force it.
Step 3: Remove the Packing Nut and Stem
Use your adjustable wrench to loosen the packing nut (the large nut holding the stem assembly). Turn counterclockwise. Once removed, unscrew the stem itself. You will now see the washer at the bottom of the stem, held by a small brass screw.
Step 4: Replace the Washer and O-Ring
Remove the old washer — it is probably flattened, cracked, or grooved. That worn washer is your leak. Replace it with a matching new washer and tighten the brass screw. While you are here, slide off the old O-ring around the stem and replace it too, with a dab of plumber’s grease. These two cheap parts solve the vast majority of dripping tap fix cases.
Step 5: Reassemble and Test
Reverse your steps: stem back in, packing nut snug (not gorilla-tight), handle on, cap replaced. Turn the water valves back on slowly, then test the faucet. Run it for thirty seconds, turn it off firmly, and watch. No drip? You just completed a faucet handle repair like a pro.
Fixing Cartridge, Ball, and Disk Faucets
The process is similar but the internals differ.
Cartridge Faucet Repair
After removing the handle, you will see a retaining clip or nut holding the cartridge. Remove it, pull the cartridge straight up (note its orientation!), and drop in the new one exactly the same way. This faucet cartridge replacement takes about fifteen minutes.
Ball Faucet Repair
Remove the handle and cap, then use the special wrench from the repair kit to loosen the cam. Replace the ball, springs, and rubber seats with the kit’s new parts. Take a photo before disassembly — the order of small parts matters.
Ceramic Disk Faucet Repair
Remove the handle and the escutcheon cap to expose the cylinder. Lift out the disk assembly, clean any mineral deposits with white vinegar, and inspect the rubber seals. Replace seals if worn, reassemble, and test.
Troubleshooting: When the Drip Persists
If you replaced the washer and it still drips, do not panic. Check these.
Worn Valve Seat
The valve seat is the metal surface the washer presses against. If it is pitted or corroded, even a new washer cannot seal. You can smooth minor damage with a valve seat dresser (a cheap tool), or replace the seat if it is removable.
Wrong Size Washer
A washer that is slightly too big or small will not seal. Take the old one to the store for exact matching — “close enough” is not close enough in plumbing basics.
Mineral Buildup
In hard water areas, calcium deposits prevent proper sealing. Soak parts in white vinegar for an hour before reassembly to dissolve buildup.
When to Call a Plumber Instead
DIY has limits. Call a professional if you see water leaking from the base of the faucet into the cabinet (possible supply line issue), if shut-off valves are frozen or broken, if you discover corroded pipes, or if the faucet is so old that parts are unavailable. Knowing when to stop is part of smart DIY plumbing.
Conclusion
Now you know how to fix a leaky faucet yourself — shut off the water, disassemble in order, replace the washer or cartridge, and reassemble. In under an hour and for a few dollars, you will have silenced the drip, saved thousands of gallons of water, and earned legitimate bragging rights. Keep a washer kit in your toolbox, because faucets always drip again eventually — and next time, you will be ready.
Related Reading



[…] How to Fix a Leaky Faucet Yourself in Under an Hour […]
[…] How to Fix a Leaky Faucet Yourself in Under an Hour […]